Repurposing

Easy Peasy Repurposing: 3 Ideas

It’s no secret that repurposing has been playing a big part in my home redecorating journey. But there are three really easy ones that I have just loved and want to share. It’s important to note that I have been focusing on bringing in costal textures and more delicate things that were banned during the toddler years. So bring on the soothing glass, bright and delicate plants and interesting textures. (Some of which were used as play swords in a past life by two toddlers… )

So it all starts with: An old vase and greenery from Ikea, a mason jar, a decorative glass bowl from our wedding and decorative rocks.

And transforms into three eye catching pieces with very little effort and money.

The things I purchased were: Sea glass spray paint, succulents, cactus soil, matte white paint, rope from Lowe’s and decorative sea glass on clearance at Target.

IMG_9215

The sea glass jar is self-explanatory but here are some tips for the other two. Let’s start with the succulent terrarium. I loved this project because I was able to get creative with the types of plants I was chasing. I spent a long time walking back and forth at Lowe’s to pick out the succulents that screamed “underwater plants!”. In the end I am so happy with how my seaweed looking succulents turned out.

Switching gears, it’s important to read up on how to properly plant a terrarium especially when you don’t have a drainage spot, like in this project. But the basics are:

  • Make sure you put 2 inches of small rocks or pebbles at the bottom to allow the water to drain.
  • Use a cactus/succulent soil that doesn’t retain moisture.
  • Do not overwater

I’ve seen a few sites like this one (https://www.marthastewart.com/270756/succulents-terrariums) that recommends several hours of direct sunlight. But I don’t necessarily find that to be totally needed. Mine wasn’t very happy inside but has done wonderfully on our covered patio table.

Make sure when you do put your plants in that you use a light mist or low flow of water and get it just wet not soaked. And then only water it whenever it is dry. (I made the mistake of overwatering a couple times and a few of them started to rot).

If you are choosing to paint your vessel like I did I would HIGHLY suggest the sea glass spray paint from Krylon. It comes in a few different colors and has such as cool texture. And best of all you can make it as transparent as you want. The more layers you put on the more opaque it becomes. I wanted a really bright teal color so I did 3 coats.

Make sure you paint your vessel many days before you plan to put the plants in so it has time to fully dry.  I also washed my vessel well before I planted. 

Lastly, to the beach-i-fied vase. My original inspiration was from a woman on Pinterest who repurposed a lamp in a similar way using rope. http://vintagelaceandvinyl.blogspot.com.au/2011/07/before-after-nautical-lamp.html?m=1

But that is where the similarities ended. I had a black Ikea vase so I spray painted it with my go-to spray paint (Rustoleum paint+primer) and let it dry. Then I painted over that with a matte white acrylic paint that gave the vase a nice texture that reminded me of weathered boat docks. After all of that was dry I got out my trusty hot glue gun and got to work!


The rope was super cheap, .27 cents a foot. I ended up picking out a weathered looking rope at first but then later saw a smoother rope. Unfortunately the nice older gentleman was already working to straighten out and cut the mess of rope so I didn’t want to ask him to change.

My husband says he would have prefered a smoother rope so to compromise I didn’t go all the way up like I had planned. And I am happy with how it turned out. But I personally think taking the rope all the way up with a smoother textured rope could be super cute too! It’s your call. 😉

I chose to secure my rope at the bottom of the vase with hot glue and duct tape. And then glued the rope down every other loop, and again at the top. I looked for some tall enough sea grass but couldn’t find any that fit in the vase. So luckily I had the decorative greens from Ikea already.

So there you have it, some repurposing inspiration that won’t break the bank!

Happy Creating!

Cooking

Classic Mac In A Flash, With A Twist!

Who doesn’t love a classic? Better yet a simple version of a classic! I have several Mac n’ Cheese recipes I adore but nothing is better for a weeknight than this simple recipe. Seriously. The base recipe is great and you can doctor it up however you desire. My husband and I are obsessed with everything buffalo and blue cheese. So Buffalo Chicken Mac n’ Cheese it is!!

My version was adapted from: http://www.andiemitchell.com/buffalo-chicken-macaroni-and-blue-cheese/

I changed a few things to accommodate my love affair with cheese and my aversion to poached chicken. I really think grilled chicken is better here. Even if you grill it inside the buffalo sauce soaks into the seasoned chicken breast to add so much flavor!

The original recipe also tries to make it healthy. But let’s be honest if we want to eat Mac n’ Cheese and especially Buffalo Chicken Mac n’ Cheese we probably want it slathered in cheddar, blue cheese and buffalo sauce. No diet version for me. But if you have more self-control than I do, more power to you- try the healthier version!

Here’s the super easy breakdown:

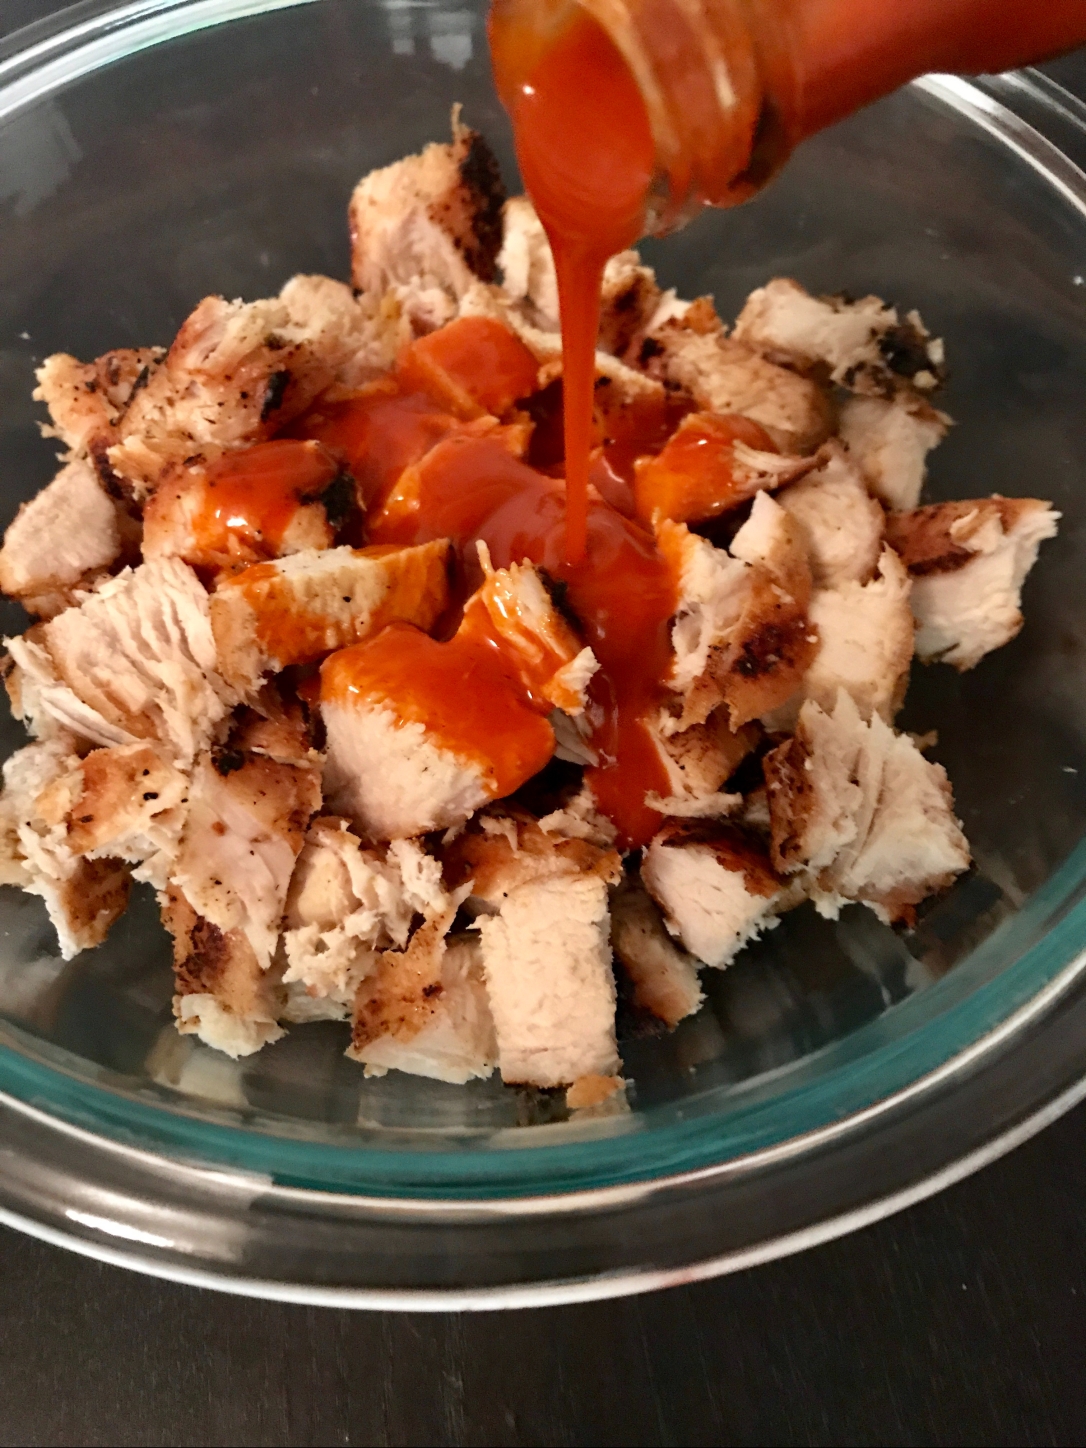
Season and grill your chicken breast (I like to cut them in half to make them thin cut). Let it rest, chop it up and add the glorious buffalo sauce. Seriously just douse it in it. I’m not even going to give you an estimated amount because I have no judgement about how much of that bottle you use. 😉

fullsizerender1.jpg

Meanwhile back in cheese land- grate up at least 2 cups of cheddar cheese. I say at least because I usually grate around 3 and the family sneaks as I go so whatever is left gets added. And the best step I learned from that recipe is.. drumroll… Mix the milk (whole milk around here) with cornstarch and whisk till blended then add the butter and melt over med-low heat. Then you wait.. But seriously this has to be the easiest version of making a white sauce I have ever seen. Keep stirring the sauce till it becomes a nice creamy consistency.

Note: I have tried doing this with flour and it comes out lumpy. So it really does need to be cornstarch. 

Season that delightful smooth sauce with your usually repertoire. Around here it’s seasoned salt, garlic powder and pepper. Once mixed and to your liking add that mountain of cheese and stir over med-low heat.

Add your noodles of choice. I laugh every time at the original recipe because it says 8 oz of noodles (even though a box comes with at least 12 usually). But seriously it tends to only fit 8 oz if you want a nice creamy ratio.

And there you have it- the kids version (sans buffalo sauce/blue cheese) and the adult heavenly marriage of Buffalo Chicken Mac n’ Cheese!

Here’s your grocery list:

  • 2 chicken breasts or 4 thin ones
  • Buffalo sauce
  • Noodles of choice (but only use 8 oz)
  • 2 cups Cheddar cheese (my preference is Tillamook medium cheddar)
  • Blue cheese
  • Spices of choice
  • Cornstarch
  • Whole milk
  • Butter

I hope you enjoy this splendid weeknight meal! Happy Creating.. and Eating!

PS-Sorry there aren’t prettier pictures with greens mixed in for effect. I was too busy eating. 😉

Repurposing

We Totally Rock!

Yep that was a nod to Bubble Guppies. If you haven’t seen it you should definitely check it out! We all have those cartoons as parents that we oddly adore. This is our family’s. 🙂 http://www.nickjr.com/bubble-guppies/videos/bubble-guppies-we-totally-rock/

So back to the actual crafting! This one is all about repurposing ROCKS! Rocks for kids, rocks for you, rocks for gifts, rocks for everyone! But seriously; it’s two part:

  1. Tic-Tac-Toe board
  2. Rocks artfully designed by children 😉

Onto the Tic-Tac-Toe board. You’ll need:

  • cleaned small rocks (I’ve had these sitting in my garage for almost a decade!)
  • square wooden plaque (the size depends on your rock size- this is 6×6)
  • paint
  • mason jar (or another container to hold your rocks)

First you are going to sand your plaque unless you get a magically pre-sanded plaque. Which would be amazing! Then you’ll want to measure out evenly spaced squares. So here I put notches every 2 inches. If you are a messy painter like me you’ll want to tape off the edge of your plaque so your lines don’t flow over.

Next you are going to pick out your paint for the board as well as the rocks (to make your x’s and o’s). Now paint away! 3 seemed to be the magic number for me on this project. 3 coats of rock paint, 3 coats of board paint and 3 coats of sealer. Also for the black rocks, a lighter color paint seemed to work best. I tried a medium blue and it didn’t pop enough.

After the rocks and boards are dry, proceed to sealing them.

I ended up liking a mix of the Mod Podge and Krylon clear gloss sealer. But you could also just try the gloss version of Mod Podge. The combo I used was just what I had on hand. If you are doing a combo I would suggest 1 coat of Mod Podge and 2 coats Krylon. Or just 3 coasts gloss Mod Podge. Either way I think 3 is a good minimum. You can always add more just follow the drying instructions between coats.

I also sprayed the rocks with the same combination. Let it all dry overnight before you package it up and then have fun! It make a great gift too! (Bonus- the kids got their first tic-tac-toe lesson and loved it.)

*Make sure you spray the adhesive in a well-ventilated area and don’t do it with kids and pets around. It’s a good idea to wear a mask yourself and be aware of windy conditions to avoid spray back*

The original inspiration for the tic-tac-toe board (with a few changes) was from: https://tatertotsandjello.com/2015/04/diy-tic-tac-toe-game.html 

WE TOTALLY ROCK ROUND TWO!

FullSizeRender 7

Most likely we’ve all seen these adorable painted rocks on Pinterest. My neighbor even sat down with my daughter to paint a ladybug and she loved it. So if your kids are patient and artistic go for it in the creativity department! There are so many beautiful ones out there.

But if you happen to have toddlers who love glitter and getting messy maybe try this instead.

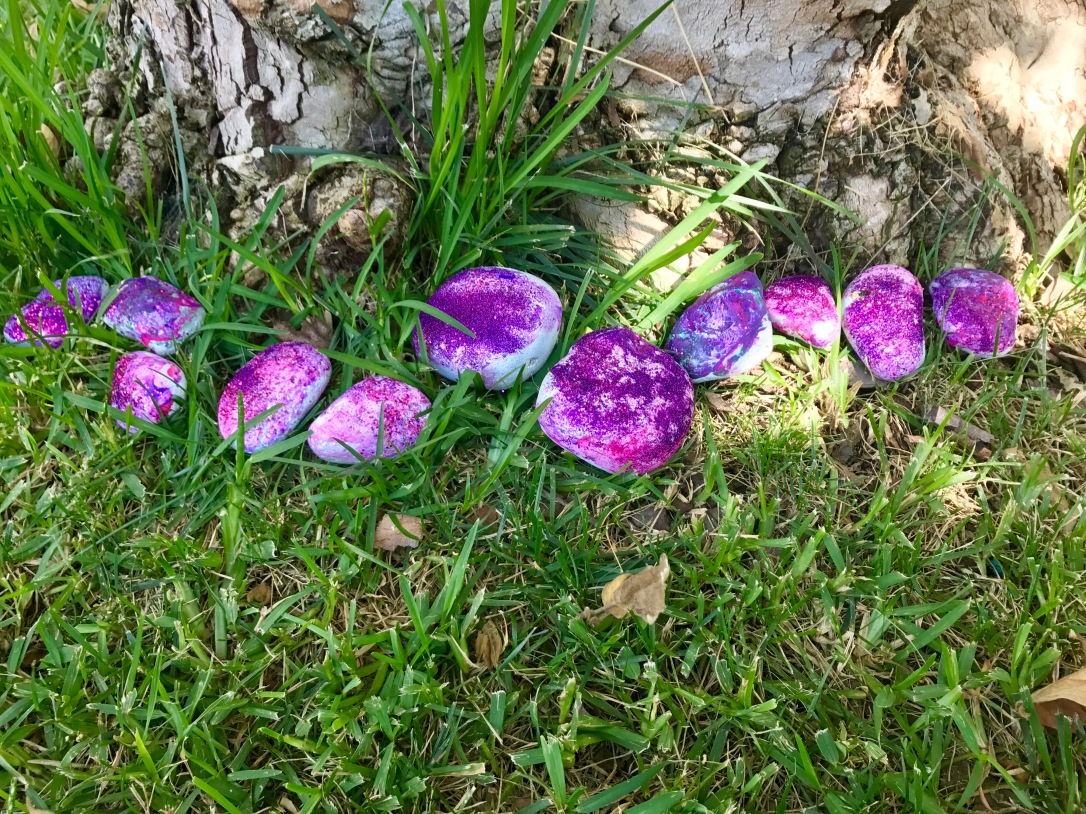
We found some good size rocks and after cleaning them laid them out to dry. Then during nap time I spray painted them with a paint and primer in one. Two coats on the top side and one coat on the bottom. Let them dry and now you have an afternoon project! Luckily the day we painted was a beautiful day to sit outside under the tree.

*Make sure you spray paint in a well-ventilated area and don’t do it with kids and pets around. It’s a good idea to wear a mask yourself and be aware of windy conditions to avoid spray back*

You’ll need:

  • rocks
  • something to spray paint on (I use an old towel for this)
  • washable paint (for toddlers) or acrylic if you’re older and/or feeling brave
  • spray adhesive
  • decorative elements such as glitter

Grab a blanket for your kids to paint on. We keep several painting blankets around since we always seem to need fresh ones. Then take out all the fun colors and decorative elements. Glitter is always a must in our house, hence the outdoor painting. And my son’s love of painting himself (and other objects)…

After the paint is dried spray the rocks with Mod Podge or a similar adhesive. Then decorate your yard, house etc…

Happy Creating!

Learning Together

Tell Me A Story… Creating Together.

“Once there was a duck and a cheetah. They were hungry so they went to a restaurant. They ordered pepperoni pizza and watermelon. The waiter brought their food and they paid him. Then they were thirsty so they went to visit the ocean to get a drink of water. And they met their friends sharky and fish.”img_4631.jpg

Looking for a way to engage your kid’s creative side without a lot of work? Grab a box, put 8-10 random items in it from your toy stash and begin. Ask them to pull each item out and identify it. Then start by encouraging them to explain the relationship between each item.

Are the duck and cheetah friends? What do they like to do together? I wonder if they have other friends. etc…

Both kids were a little unsure at first but as soon as I started asking questions they dove right in. I was so excited to see their eyes light up and see their brain start to make connections. They both love to read but being 2.5 and 4 I wasn’t sure how far they would go with creating a story. But they loved it! This will definitely be a regular thing for us since it doesn’t require any special materials.

Important to note: I originally asked each kid to pick out 2 items and then I picked out the rest. Interestingly enough they didn’t choose any of the items they had originally picked out. And more than 10 item seemed to be overwhelming. In the end they picked 8 items to tell their story but I think 8-10 is probably a happy range.

Hope you enjoying getting creative with your littles too!